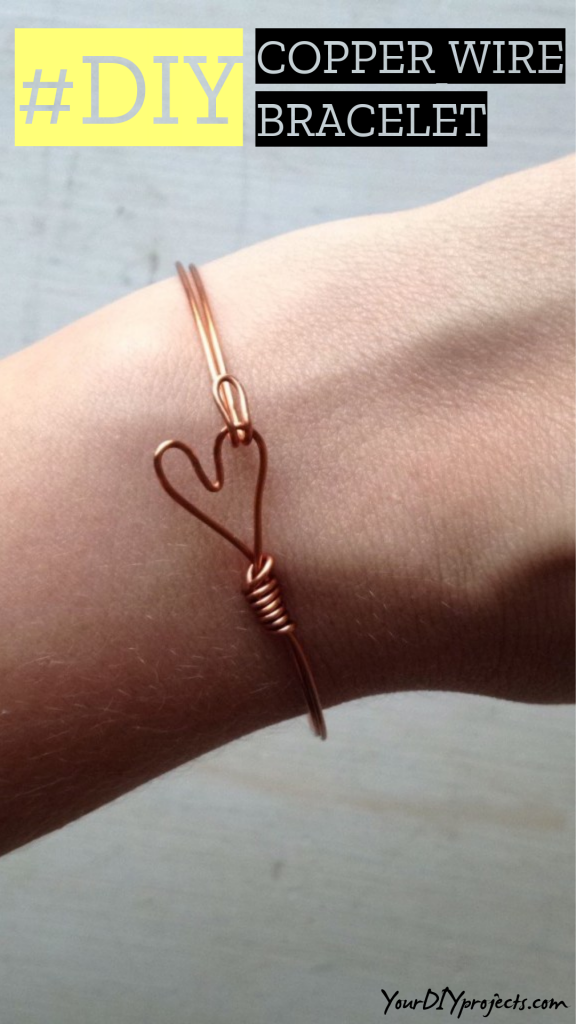
Copper Wire Heart Bracelet in Under 5 Minutes
In this 5 Minute Crafts Projects, we are going to make a Copper Wire Heart Bracelet. We all do love the step by step guides but with this one, you can let your imagination flow and make pretty much every shape you wish and as well you can choose a different type of wire colors. I have Copper color and that’s what I am going to use in my DIY Wire Bracelet Tutorial.
Materials needed to make a wire bracelet:
- Copper (jewelry copper preferred)
- Needle Nose Pliers
- Nylon Jaw Pliers
- Wire Cutters
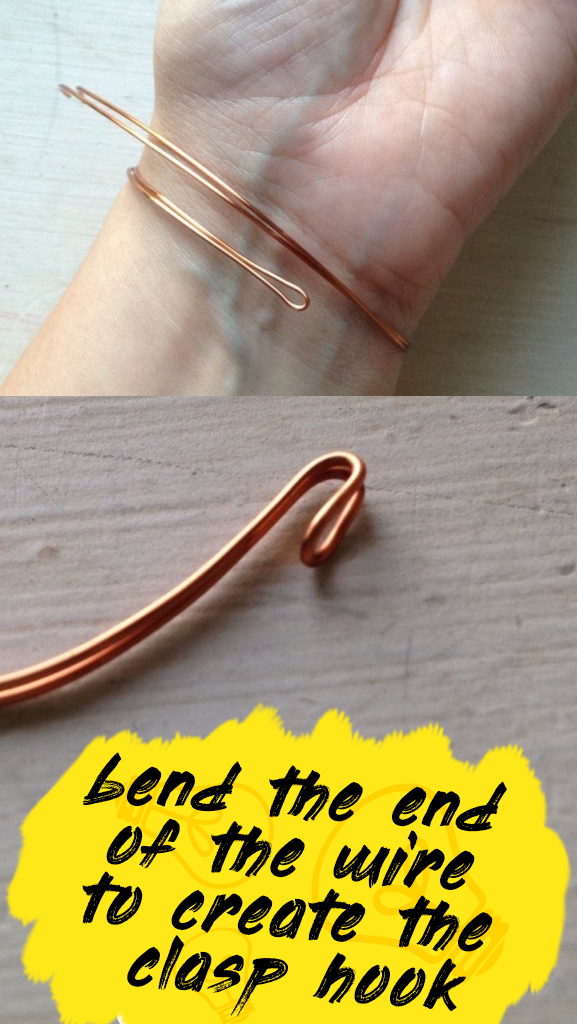
Start with cutting a piece of wire twice the length of your bracelet size with an extra inch to create the clasp. You can use a measuring tape but that will just complicate things up. J
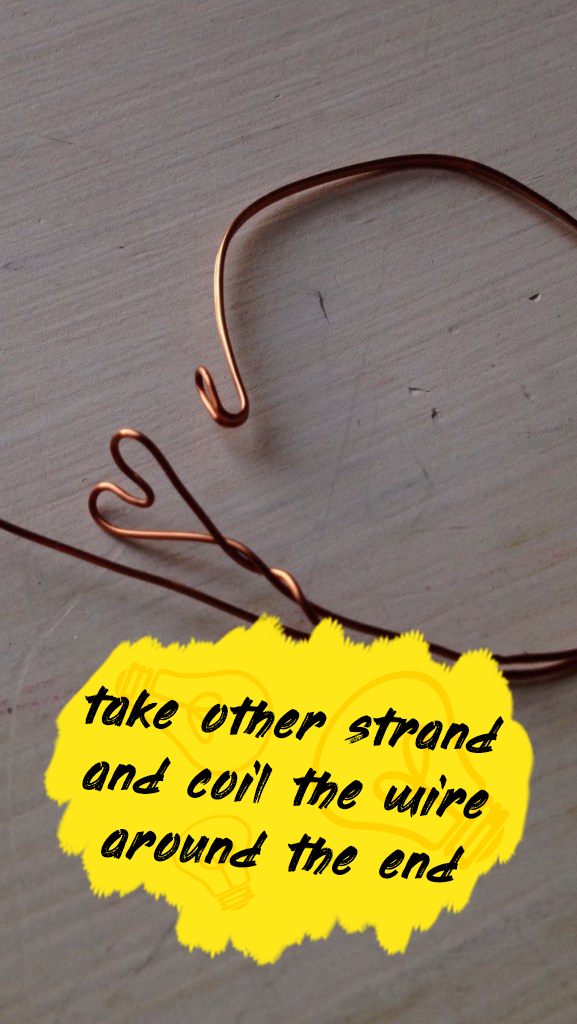
Use the pliers to bend the loop back to make the end of your clasp. Bend only one side of the double strand into the desired shape. Twist the extra wire around the strand. Take the second wire strand and coil it around the end of your shape to enclose it. Now the shape makes the second end of your clasp.
In conclusion, if you let your imagination fly you can do pretty much every shape you wish more or less. Therefore you can make a copper wire bracelet for everyone and age. I made a rose gold bracelet for my niece and she absolutely adores it and asked me to teach her. Above all, it costs pretty much nothing to make this copper wire bracelet and it is a great gift. If you enjoyed this 5-minute craft make sure to join our newsletter and follow us on social media profiles!
Every image was taken from


What gauge wire did you use?
unfortunately, I don’t remember anymore!